New Hire Onboarding Tickets: How to Route IT, HR and Facilities Requests
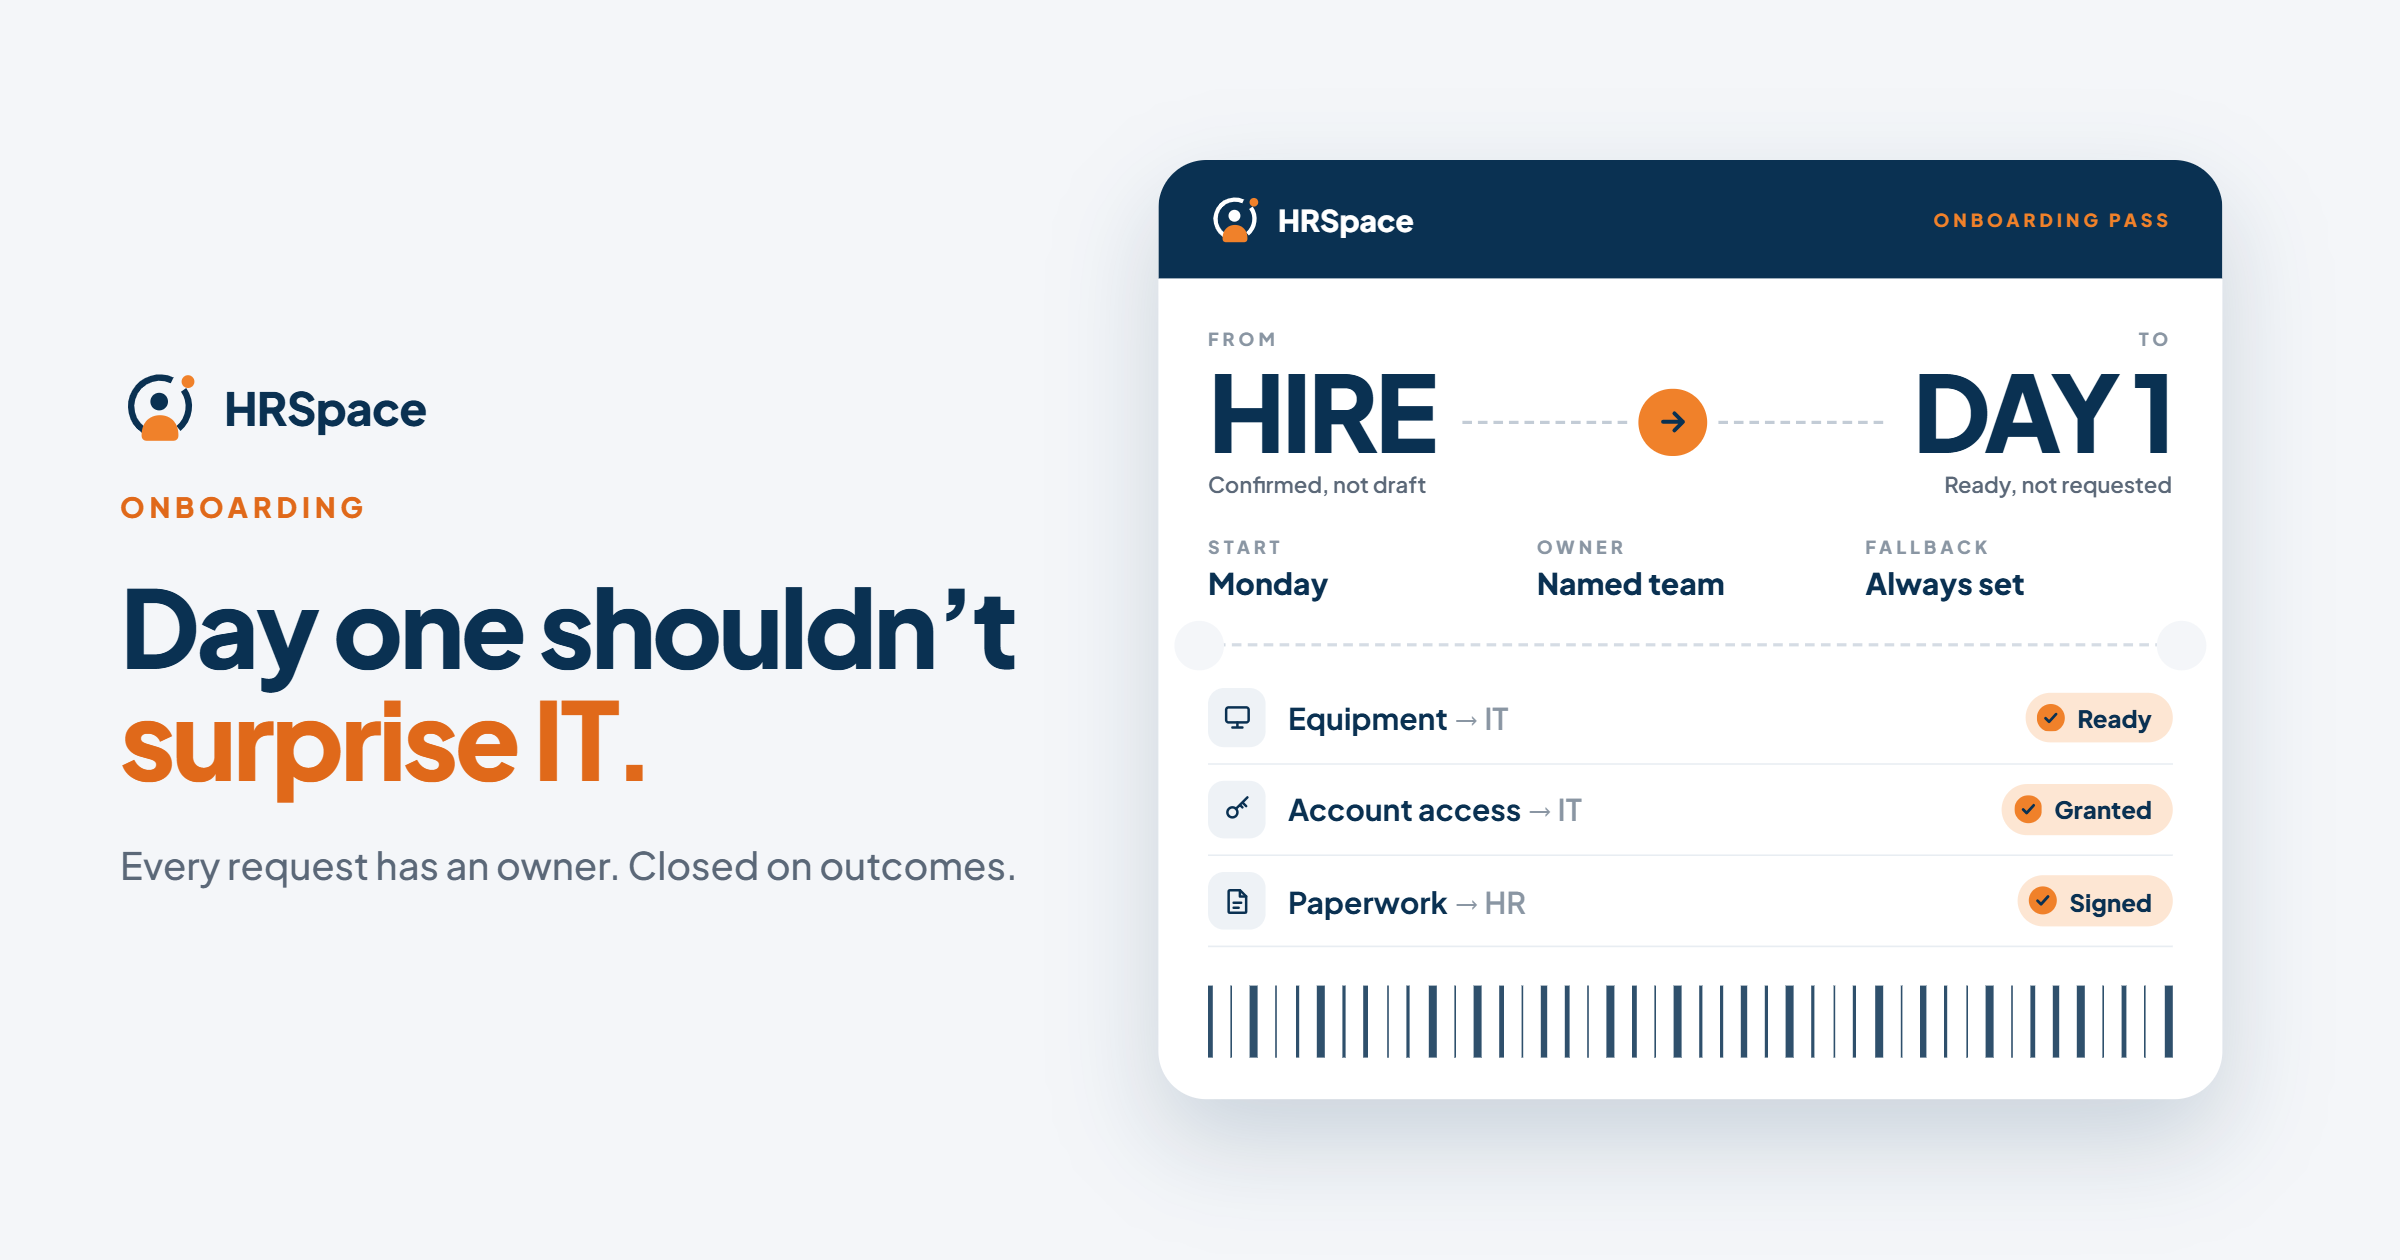
A start date isn’t an instruction. IT needs to know what access the person needs. HR needs an owner for the paperwork. The manager needs to know what’s ready. When none of this is written down and routed, the new hire arrives and the laptop isn’t there.
The fix is to turn onboarding into a small set of owned requests, each routed to the right team with a deadline. This guide covers what to ticket, when, how to route it and how to keep it accurate when plans change. It also shows how HRSpace’s Onboarding and Service Me modules fit together.
What should become a ticket
Not every onboarding item needs one. A rule of thumb:
- Make it a request when a different team does the work and you need to know it’s finished: equipment, accounts and access, a desk or building pass, payroll set-up.
- Keep it a checklist task when the work is simple, belongs to one person and doesn’t need tracking beyond “done”: a welcome message, a buddy assignment.
A short, focused set works better than a long one. Add another category only when you can name the owner, the information they need and what “finished” means.
When to create them
Don’t wait for the first day. Hardware and accounts take time. Some IT onboarding guides suggest at least ten working days’ notice; the right lead time depends on your equipment and set-up.
A sensible trigger is a confirmed hire: the offer is accepted, the hire is approved, and the key details are known. An unfinished recruiting record isn’t proof that you should order a laptop. If the details are missing (start date, manager, role, location), treat that as an exception for HR to fix, not an invitation to guess.
What each request needs
- Who the new hire is, and their role and start date.
- What’s needed: the equipment, the tool list, the access level.
- Where, if location changes the owner or the equipment.
- The date it must be done by.
- Only the information the team needs. An equipment request doesn’t need the full HR record.
Route to owners
Decide the owner of each category before you automate anything:
| Request | Typical owner |
|---|---|
| Equipment | IT or facilities |
| Accounts and access | IT, with approval where your policy requires |
| Paperwork and documents | HR |
| Payroll and benefits set-up | Finance or HR |
Add a fallback owner for requests that don’t match any rule, so nothing sits in a general queue with nobody looking at it. Separate “required by” dates (when the hire needs it) from service targets (how quickly the team should respond).
How HRSpace makes this easier
In HRSpace, the pieces connect:
- Onboarding ($0.50 per employee per month) gives every new hire a task list with owners. Tasks can go to IT, finance or the manager, not only HR.
- Service Me ($0.50) turns requests like “order a laptop” or “set up a login” into tracked tickets with routing rules, SLA targets and approval chains.
- Everyone sees the status in one place, so HR doesn’t have to ask IT whether the laptop is ready.
HRSpace tracks the request and its owner. It doesn’t create accounts or ship equipment, so your IT team still does that work, and closes the ticket when it’s done.
Check in a trial how your onboarding tasks turn into tickets, and which parts you set up by hand and which run on their own.
Keep it accurate when things change
The start date moves. Update the deadlines on outstanding requests. Don’t create a second set. Leave completed work closed unless the change creates new work.
The location or role changes. Check the routing, and whether new access or equipment is needed.
The hire is cancelled. Stop or review the outstanding requests, so nobody keeps preparing a laptop for someone who isn’t coming. This is the most useful test of all: a process that starts well but can’t stop cleanly isn’t ready.
The same event fires twice. Check that it doesn’t create duplicate requests.
Close on outcomes, not activity
“We sent the request” isn’t the same as “the access works”. Define what proves it’s done: confirmed access, a device that’s configured, a document collected. Then ask the manager on the day before the start whether the new hire is actually ready.
Test before you rely on it
With test records and no real personal data, run three cases:
- A standard hire: requests are created, reach the right owners and carry the right dates.
- A hire with missing details: the record goes to an exception route.
- A changed start date, then a cancellation: deadlines update, and cancelled work stops.
Start with one request category, such as equipment. Add more after it works.
What it costs
For a 50-person company:
- Base layer (records, documents, time off, timesheets): $50/month
- Onboarding: $25/month
- Service Me: $25/month
- Total: $100/month, billed monthly with no setup fee
A 14-day free trial needs no credit card.
Frequently asked questions
What should be a ticket in onboarding?
Work done by another team that you need to track, such as equipment, accounts and access, and payroll set-up.
When should onboarding tickets be created?
Once the hire is confirmed, early enough for equipment and accounts. Don’t wait for the first day.
How do I avoid duplicate tickets?
Check whether a request already exists for the person and category, and test what happens when the same event repeats.
What happens if the start date changes?
Update the outstanding requests’ deadlines. Don’t rebuild the package.
Does closing a ticket mean the new hire is ready?
Only if the closing condition includes the outcome, such as working access.
Can I try HRSpace before buying?
Yes, with a 14-day free trial and no credit card.
One last thing
Test the cancelled hire before the next successful one. Cancellation shows whether your process can stop work, keep ownership clear and avoid sending obsolete instructions.
Where to go from here
To see onboarding tasks and tickets together, start a free 14-day HRSpace trial. You may also like our guides to the recruitment to onboarding workflow and the 90-day review workflow.
Ready to make HR the easy part?
Explore modular pricing and start a free 14-day trial.